Level Two PT Exercises
by Greg Booth of Neurosport
(Please check with your surgeon prior to starting any exercise program)
The Level Two exercises are generally for patients who have had their surgery approximately 6 to 8 weeks ago and have been cleared for hip flexion past 90 degrees by their doctor. These exercises have more of a strengthening and aggressive stretching emphasis; however, increasing function of the hip is still the primary goal. It would be a good idea to perform some of the mobility exercises in the Level One section before and after attempting these Level Two exercises. Again, do these exercises slowly and stop if you have any unexpected pain in your hip or low back.
Posterior and Lateral Stretch of the Hip and Thigh
Lying on your back with your knees bent. Bring your knee to your chest until you feel the point of restriction. Try to pull your leg further into your stretch but resist this motion with your hip and leg muscles. Hold for 10 seconds. Relax. Now try to increase this stretch by pulling your leg further back toward your chest. This is known as the Contract/Relax method of stretching.
Now pull the knee across mid-line to the opposite shoulder until you feel another restriction. Use the Contract/Relax method of stretching to perform this stretch. This stretch can also be performed with a towel in your groin to act as a fulcrum to increase the stretch on the outside of your hip.
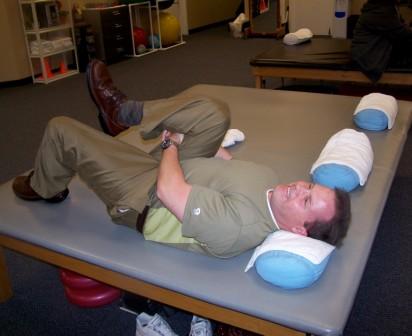
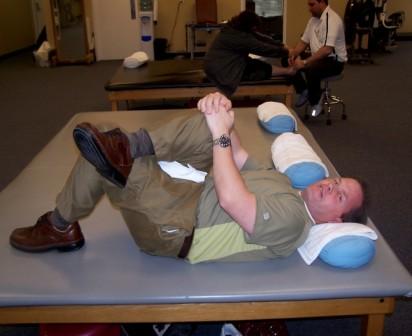
Single Knee to Chest Stretch Bringing Knee Across Mid-line with a towel placed in your groin
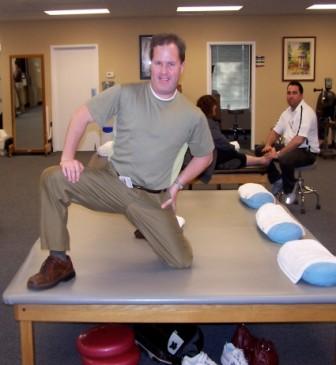
Hip Adductor Stretch
Kneel down on your operative leg and move the other leg toward the outside of your body. Slowly shift your weight out over the weight bearing foot to stretch your inner thigh. You can alter the position of your knee or foot to isolate different points of restriction.
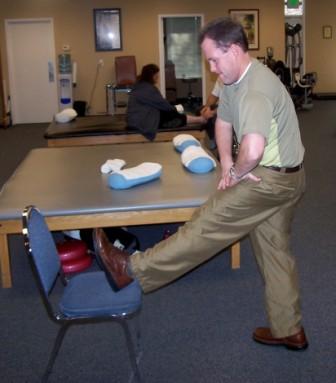
Hamstring and Inner Thigh Stretch in Standing
Put your foot on a chair that provides the appropriate height for stretching. Slowly hinge forward at the hips keeping your low back straight. For an added stretch, perform an Ankle Pump or rotate your thigh toward the inside or outside. You can now turn your body toward your opposite leg and slowly bend you weight bearing leg to stretch your inner thigh muscle.
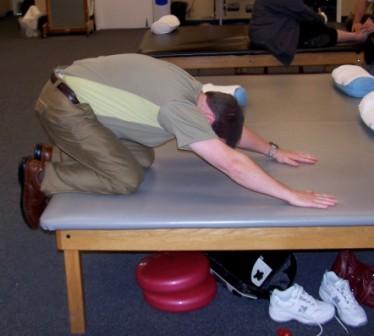
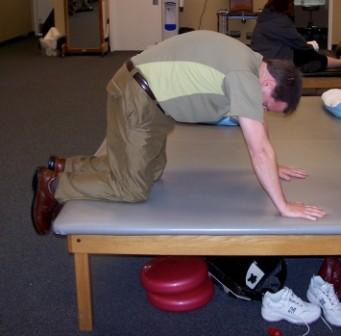
Quadruped Clocking
Get “on all fours” by bearing weight through both hands and knees. Rock your pelvis backwards so that your bottom is going toward your heels. Only go back as far as your surgical hip can tolerate. You must also observe the hip flexion precautions given to you by your doctor when you move your bottom back toward your heels. Now, move your body forward and let your low back arch. Be sure to keep your elbows straight to provide traction on your spine when you move into this position. This is a common yoga position. Repeat these two activities by moving your bottom back and forth. Let your low back round slightly when you move your bottom toward your heels and let your low back arch when you move it forward. Always start and end in the rounded back position. Also, be sure to always observe your hip precautions especially with this exercise. Repeat for 1 to 2 minutes.
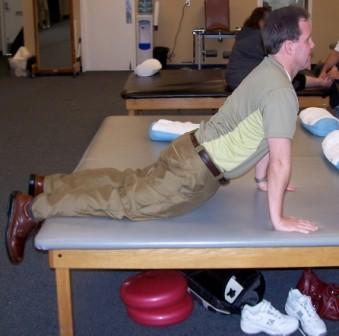
Unilateral Bridge
Bend the knee on the side of your surgical hip. Position your hand beside your head with your fingers pointing toward your feet. Push into the foot of your bent knee and into the hand that is beside your head. Slowly lift your pelvis off the floor followed by your shoulder. You should now be extending through your pelvis and spine. Your bent elbow and knee should also be separating from each other within a straight line. You should now feel a stretch in the front of your hip. Repeat 6 to 10 times.
Caution: This exercise is not recommended for patients who have problems with backward bending through their neck.
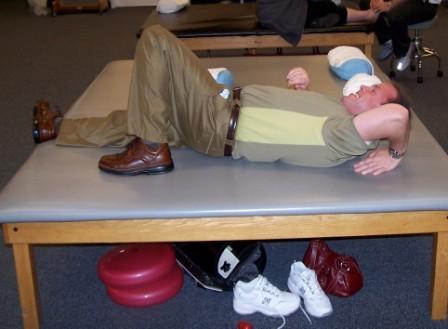
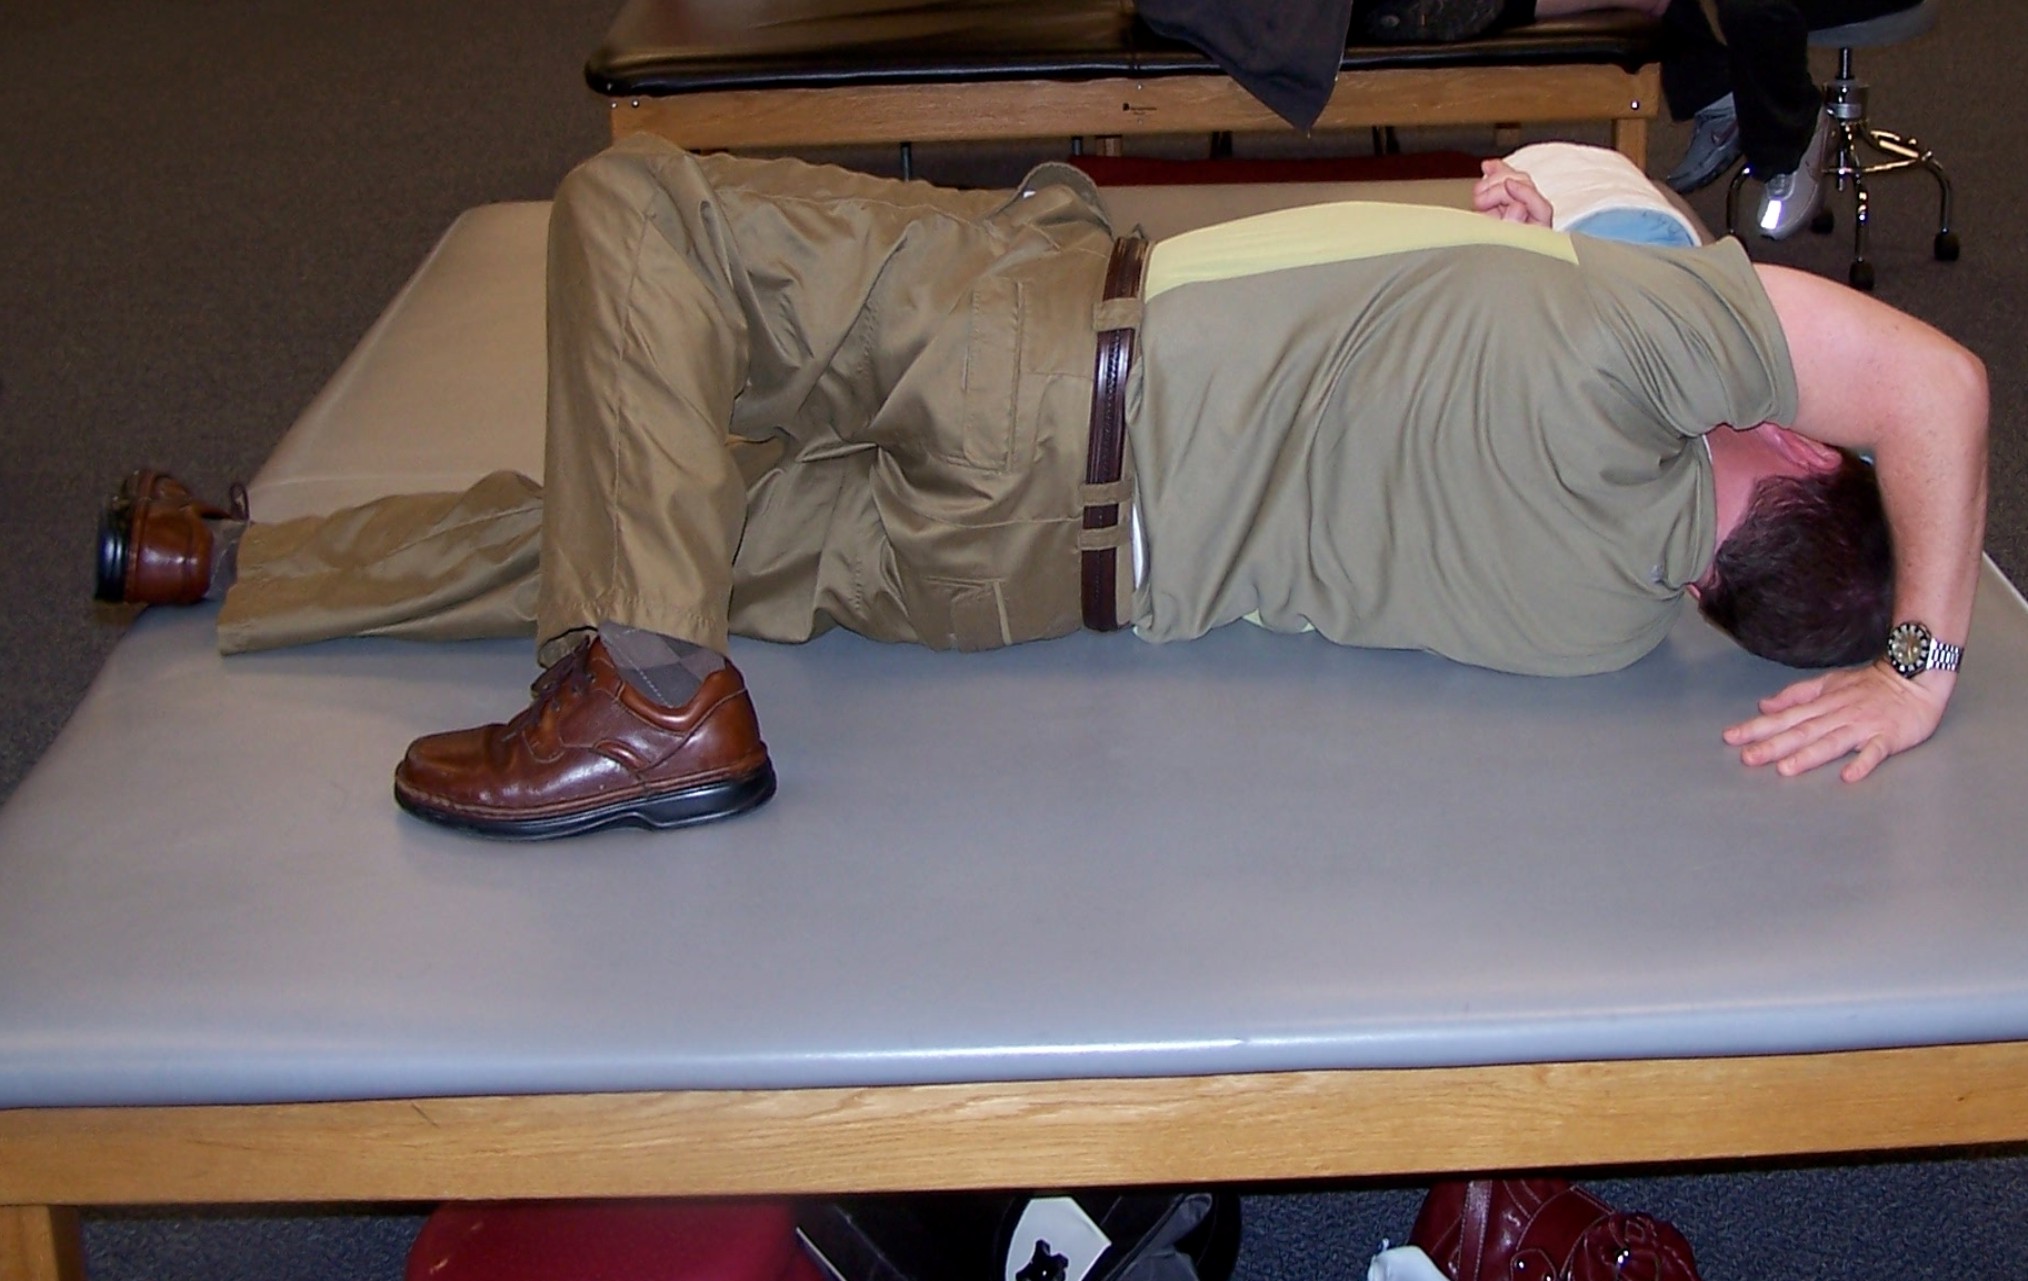
Starting Position for Unilateral Bridge Completion of Unilateral Bridge
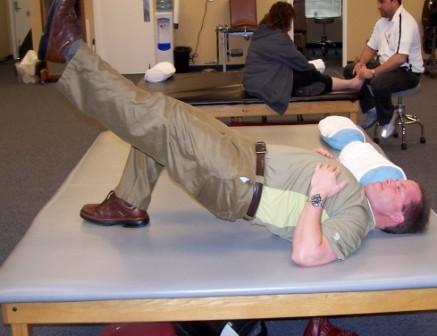
One Leg Bridging
Repeat the process of raising your bottom as you did in the Level One Bridging exercise. Now straighten your non-surgical leg. Be sure and keep your pelvis level while you straighten your leg. Hold for 5 to 10 seconds. Put your leg down and then lower your pelvis. Repeat this process 5 to 10 times.
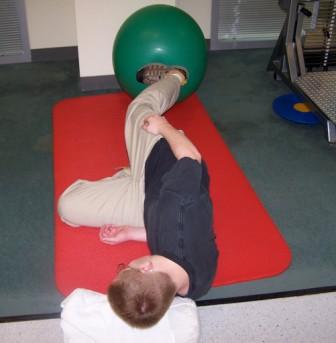
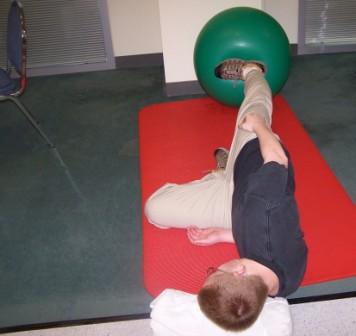
Gym Ball Push
A Gym Ball is required for this exercise. You may purchase one at any sporting goods store or Target. They range from around 20 to 35 dollars. Lie on you non-surgical hip. Line your shoulders, hips and ankle in a slight diagonal line from a “1 o’clock” to a “7 o’clock” position or “11 o’clock” to a 5 o’clock position depending on the side you are lying on. Have your knee slightly bent in this position. Push the ball of your foot into the Gym Ball and straighten your knee as much as you can. You should feel the muscles contracting on your thigh and bottom. Hold this position for 5 seconds. Unlock your knee by letting it bend slightly without moving your hips.
Bend and straighten your knee 15 to 25 times.
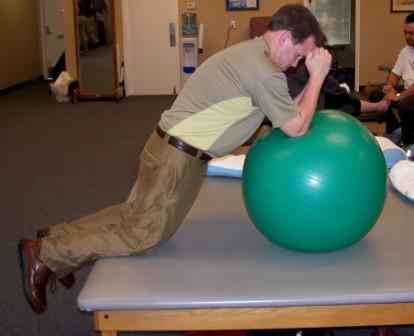
Roll-Outs
Kneel on both knees with both elbows on a Gym Ball next to your body. Tighten your bottom muscles and tilt your pelvis back to the “12 o’clock” position. Roll the Gym Ball out away from your body with your elbows. Transfer your weight on to your elbows that are now being supported by the Gym ball. Keep your bottom muscles tight and your pelvis tilted back toward the “12 o’clock” position. Hold for as long as your can. You should feel a significant contraction throughout your Abdominal Wall. In fact, if you are not shaking somewhat, then you are probably doing this exercise wrong! Repeat this exercise for around 3 minutes taking short breaks when you need to.

Gregory J. Booth P.T., OCS, CFMT
Orthopedic Certified Specialist
Certified Functional Manual Therapist
Neurosport Fremont, CA